Load and Save Moldbase Assemblies
Load Assembly
Press EMX > Mold Base > Assembly Definition.
Click in Moldbase Definition.
In Load EMX Assembly dialog box select moldbase emx_tutorial_komplett from the Stored assemblies list.
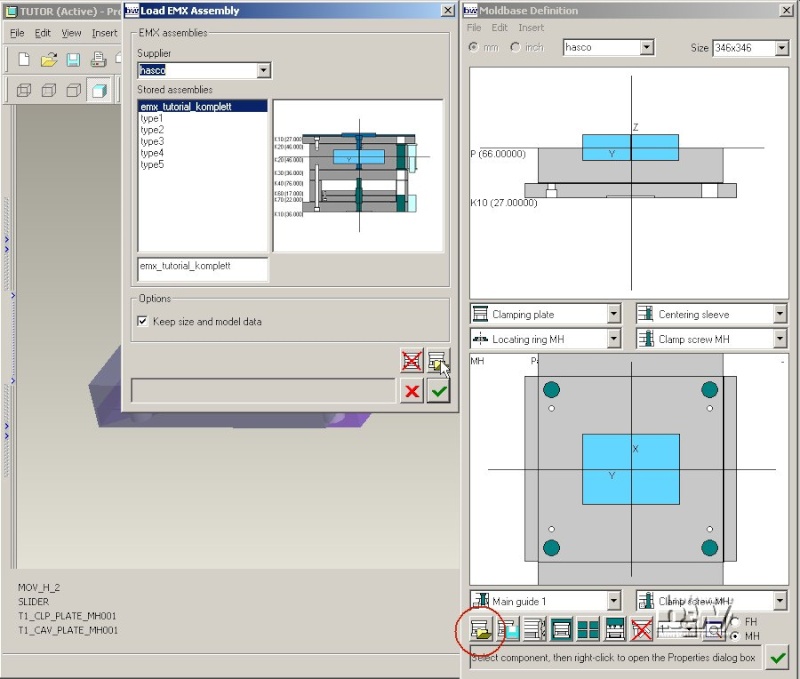
Click in Load EMX Assembly dialog box.
The entire moldbase information is read from the stored assembly file. The components are displayed in Moldbase Definition as preview.
Note: At this point nothing happens in the 3D model.
Leave the dialog box with , the previous moldbase layout is reloaded.
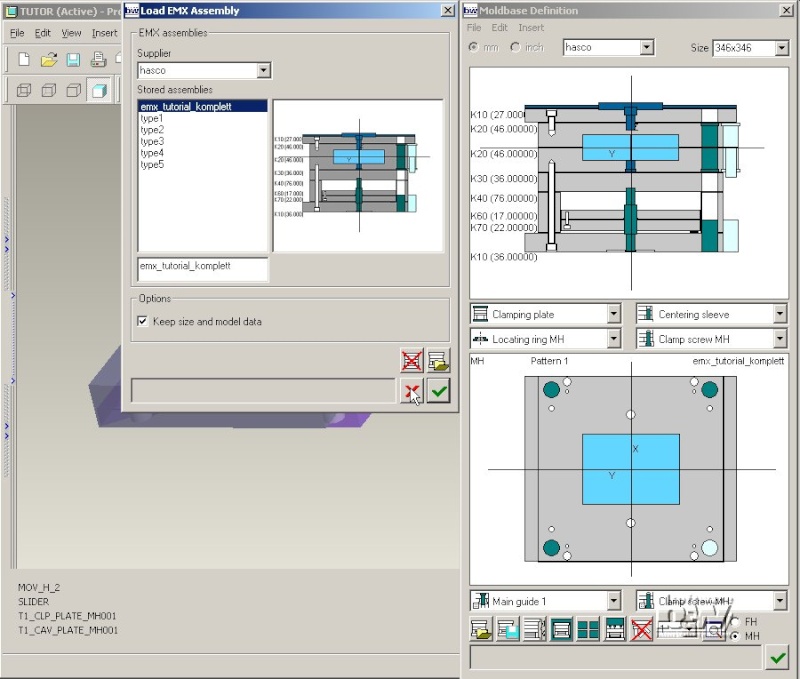
Click in Moldbase Definition.
In Load EMX Assembly dialog box select moldbase emx_tutorial_komplett from the Stored assemblies list.
Click on Keep size and model data to deactivate the button. This will force EMX to use the stored setting for moldbase size and cavity layout used in the stored assembly.
Click in Load EMX Assembly dialog box.
Click in Load EMX Assembly dialog box.
Now the 3 model gets updated. All plates and equipment components are assembled and the position of screws, stop pins, leader pins etc. are marked by EMX5.0 reference groups.
Note: In EMX5.0 rails are assembled as two independent plates. In previous releases both rails had been one model. This has caused troubles as the QTY was set to 1 in the BOM.
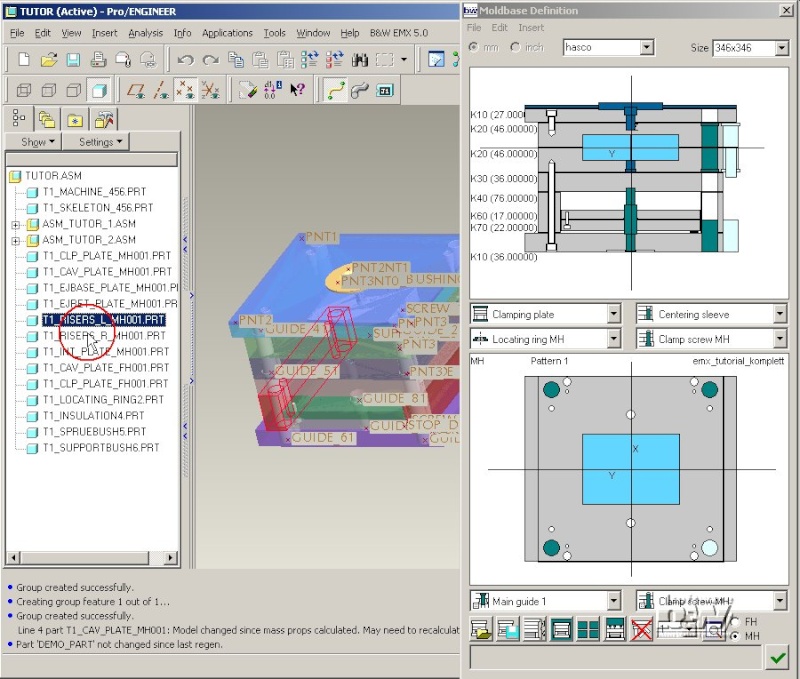
Note: This is the only action that takes longer compared to previous releases of EMX. For each moldbase component that is not a plate the position and properties are stored in detail in the Pro/ENGINEER moldbase assembly. The advantage of this new Reference Groups [REFgroups] will be explained later.
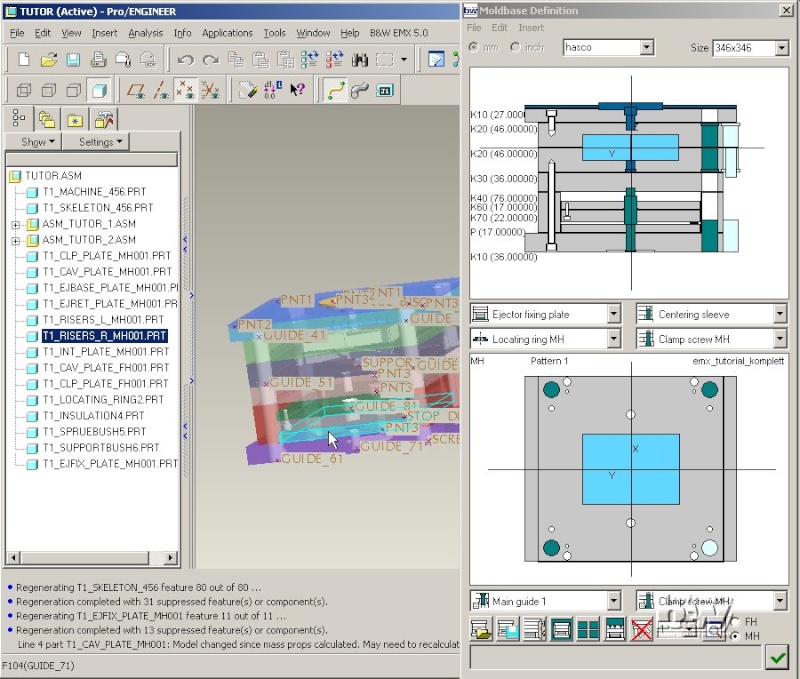
Add an Ejector Fix plate
Many customers place an additional plate between clamping plate and ejector base plate that is used to fix ejector core pins. To support this a new plate type Ejector fixing plate is included in EMX 5.0.
Select Ejector fixing plate from the plate list.
Pick the Bottom K10 clamping plate for placement.

Do not make any changes in the Plate dialog box and close it with .
The new plate is assembled in the EMX assembly.
Save an EMX Assembly
This modified EMX assembly design should now be stored for later use.
Press File > Save assembly in Moldbase Definition.
EMX will create an image of the current moldbase and display it in the Save EMX Assembly dialog box.
Enter the name tutorial below the Stored assemblies list and press in the Save EMX Assembly dialog box.
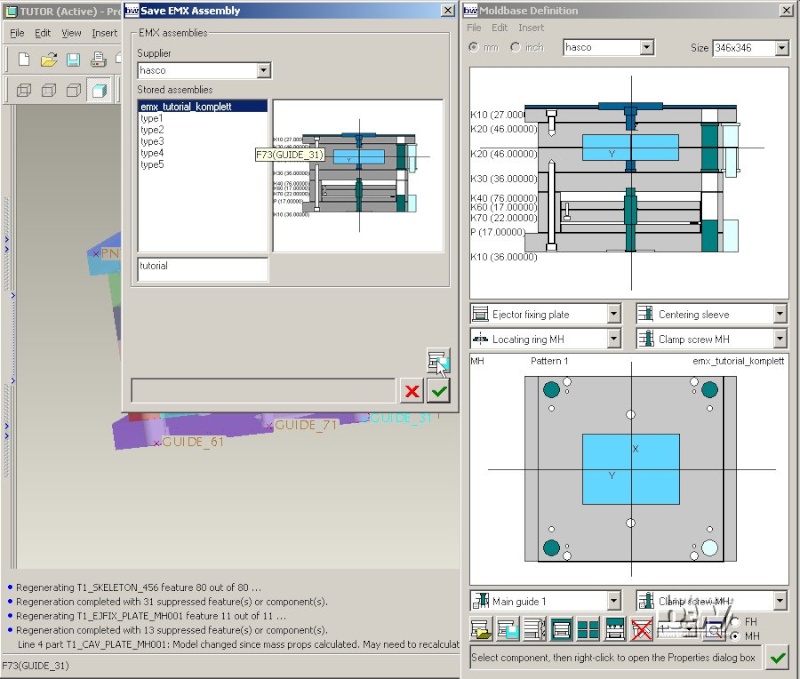
Close the Save EMX Assembly dialog box with .